
This mirror has had a prominent place in our past couple homes - I love its unique shape.
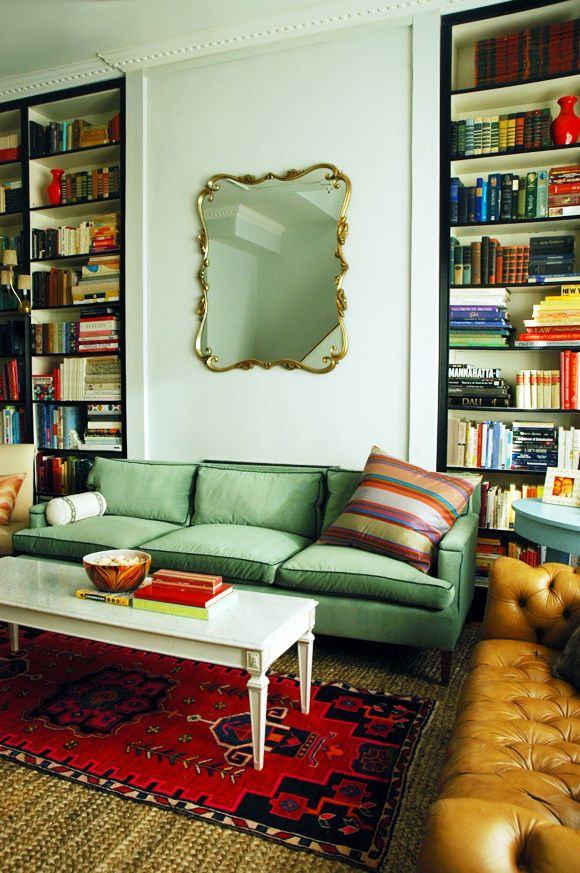
The movers accidentally knocked it over when they were loading the truck in Brooklyn. Luckily, there was no damage to the brass frame or to the composite wood backing.

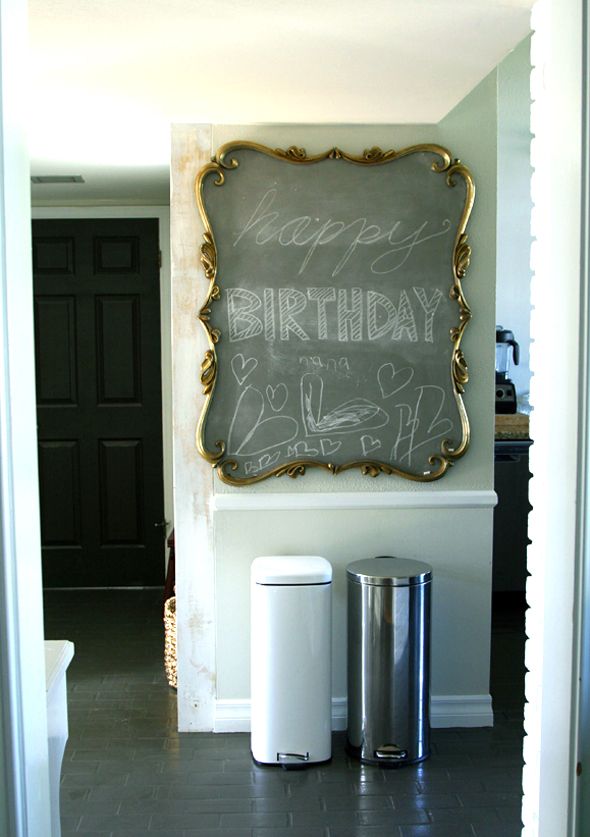
I can always go and get more mirror cut, but I wanted a chalkboard in our kitchen and this spot over the garbage cans was that perfect place. The frame just barely fit, so I was worried a traditional black chalkboard would be too dark for the space. My sister reminded me I could custom mix chalkboard paint colors, and there was no looking back!

Here's how we turned my old mirror into a chalkboard:
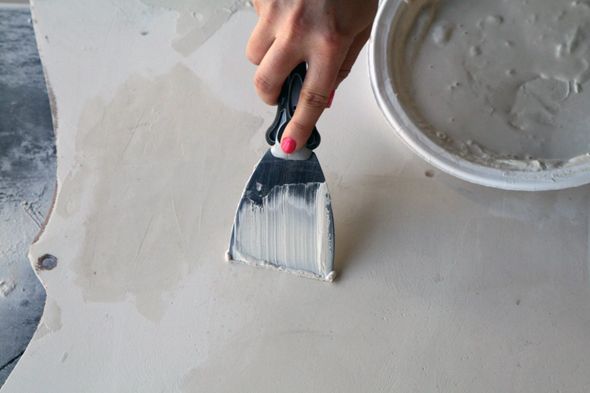
The backing board was in good shape so we just needed to trowel on joint compound to create a new, smooth surface to paint.


It's just like frosting a cake, but significantly less tasty.

One of my readers gave me this tip for smoothing joint compound. Rather than sanding the dried compound (which is an unbelievably dusty undertaking) using a damp grout sponge and "wet sand" the compound by smoothing it with the sponge. It is SO easy to get a silky finish this way, and there's absolutely zero dust. Works great on walls and for small applications like this one.

If you have any air bubbles or spots that need touch ups, I like to water down the joint compound a lot. It's easier to put on a small amount when the compound mixture is thin.
After the joint compound is completely dry (maybe wait an entire day or two?), it's a good idea to give the surface a coat of primer (like Zinsser) before painting on the chalkboard paint. Then to make your own chalkboard paint color, you just need a bag of unsanded grout, which you can find at any hardware store, and a bit of regular latex paint in any color you want.

I wanted my chalkboard to be a medium gray, so I mixed some Chelsea Gray and some Brushed Aluminum together until I got about what I wanted. To make the regular paint chalkboard paint, I added two tablespoons of the unsanded grout for every cup of paint. It's important to mix the grout in really well - clumps are no good here! An old whisk works great.

I gave my primed backing board two good coats of my custom chalkboard paint using a foam roller.

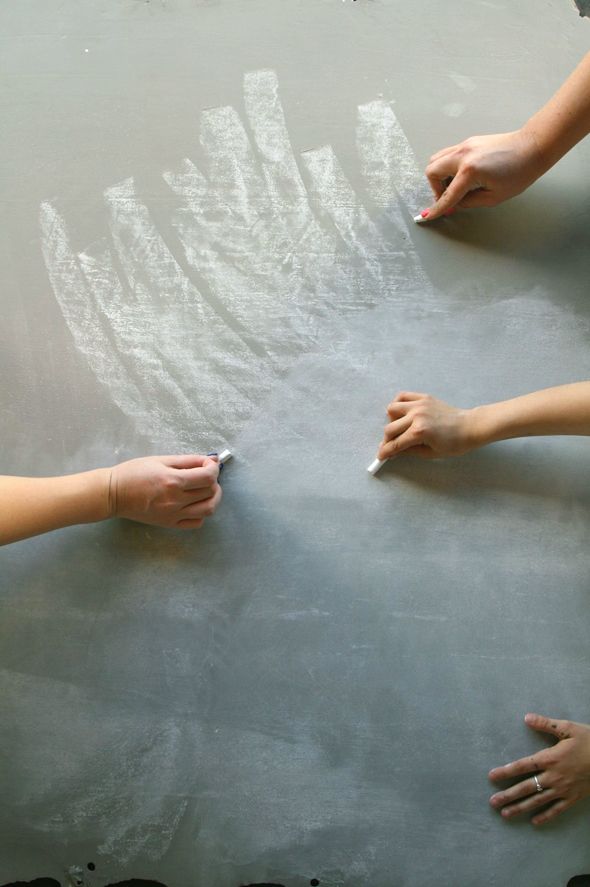
Once the paint was totally dry (only about ten seconds later in the AZ heat!), I smoothed out any bumps in the paint with a fine grit sanding block. Then Heather and Gracie helped me condition the chalkboard surface by rubbing the entire surface with chalk. This helps make the chalkboard more easy to erase - the chalk sits on top of chalk rather than getting into the pores of the painted surface.
We put the frame back together (there are eight individually cast scrolls!) and hung it up in the kitchen. I love having a place to write up a weekly menu.
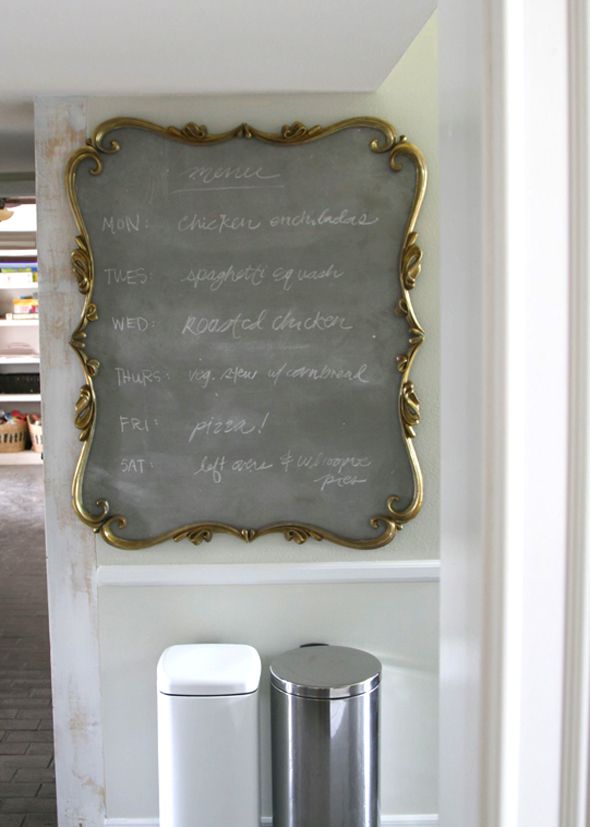

It's a fun place for the girls to doodle, too. Last night we had a lot of our extended family over for a dinner party to celebrate Michael's mom's birthday and the girls decorated the chalkboard for the party.
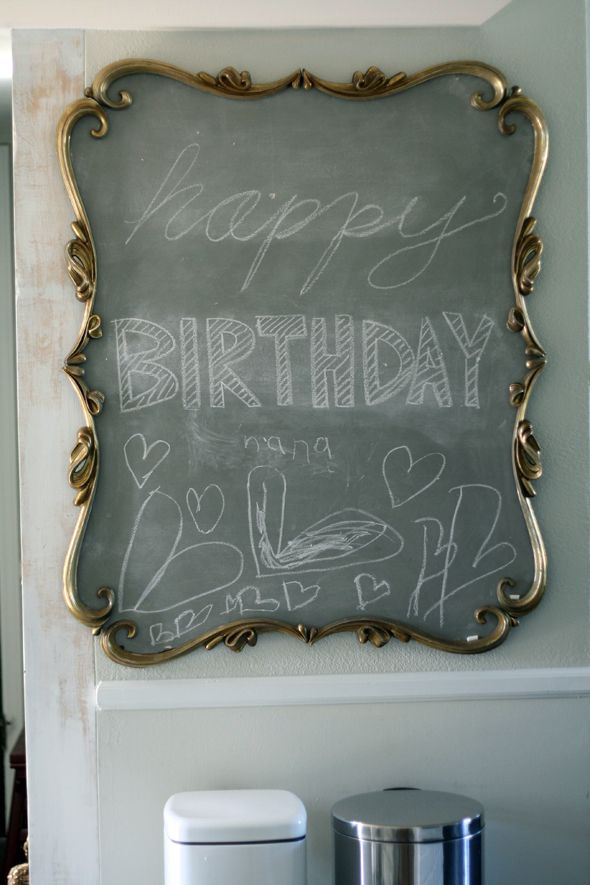


It's a little big for the wall there, but I still love it. I have lots of art hanging in our kitchen right now (to make up for the current lack of shelving) and I like how the chalkboard is a part of that. It all sort of works well together.

And I think the gray is a little more subtle than black would have been. Since I used half Brushed Aluminum, which is the wall color in the living room, I think the chalkboard doesn't feel too imposing, even though it is huge on that tiny wall. :)
